Android Studio for Android App Development: A Comprehensive Guide
Are you looking to dive into the world of Android app development? Look no further than Android Studio, the official Integrated Development Environment (IDE) for Android. In this blog article, we will explore the ins and outs of Android Studio, providing you with a detailed and comprehensive guide to help you kickstart your Android app development journey.
Whether you are a beginner or an experienced developer, understanding the features and functionalities of Android Studio is crucial for building robust and efficient Android applications. We will cover everything from setting up Android Studio to exploring its various tools and resources, ensuring you have all the necessary knowledge to create amazing Android apps.
Introduction to Android Studio
Android Studio is a powerful IDE specifically designed for Android app development. It was created by Google to provide developers with a comprehensive set of tools and resources to streamline the entire app development process. Android Studio offers features such as code editing, debugging, performance analysis, and more, making it the go-to choice for Android developers worldwide.
A Brief History of Android Studio
Android Studio was first released in 2013, replacing the Eclipse IDE as the official development environment for Android. It was built on top of the IntelliJ IDEA and offered enhanced features tailored specifically for Android app development. Since its inception, Android Studio has undergone numerous updates and improvements, with Google continuously adding new features and tools to make the development experience even better.
Why Choose Android Studio?
Android Studio offers a wide range of advantages that make it the preferred choice for Android app development:
1. Official IDE: Android Studio is the official IDE supported by Google, ensuring compatibility with the latest Android platform updates and features.
2. Powerful Tools: Android Studio provides a comprehensive set of tools such as the Layout Editor, APK Analyzer, and Profiler, enabling developers to design, optimize, and analyze their apps effectively.
3. Seamless Integration: Android Studio seamlessly integrates with other Google tools and services like Firebase, Google Cloud Platform, and Google Play Store, simplifying the development and deployment process.
4. Developer-Friendly Features: Android Studio offers features like code completion, refactoring, and linting, helping developers write clean and efficient code.
5. Active Community: Android Studio has a large and active community of developers, providing support, tutorials, and libraries to assist developers in their app development journey.
Setting Up Android Studio
Before diving into Android app development, you need to set up Android Studio on your machine. Here's a step-by-step guide to get you started:
Step 1: Download and Install Android Studio
Visit the official Android Studio website and download the latest version of the IDE. Once downloaded, run the installation file and follow the on-screen instructions to install Android Studio on your computer.
Step 2: Installing the Android SDK
During the installation process, Android Studio will prompt you to install the Android Software Development Kit (SDK). The SDK contains essential tools and platform components required for Android app development. Follow the on-screen instructions to install the SDK.
Step 3: Configure Android Studio
After installation, launch Android Studio. The first time you run Android Studio, you will be prompted to customize your IDE settings. You can choose the UI theme, keymap, and other preferences according to your preference. Once configured, Android Studio will open with the Welcome screen.
Step 4: Updating Android Studio
It is important to keep Android Studio up to date to leverage the latest features and bug fixes. Android Studio provides automatic update notifications, but you can also manually check for updates by navigating to the "Help" menu and selecting "Check for Updates."
Creating Your First Android Project
Now that you have Android Studio set up, it's time to create your first Android project. Follow these steps to get started:
Step 1: Creating a New Project
Launch Android Studio and select "Start a new Android Studio project" from the Welcome screen. Enter the name of your app and choose the package name, which will uniquely identify your app. Select the minimum SDK version and the target SDK version for your app.
Step 2: Selecting a Project Template
Android Studio provides various project templates to kickstart your app development. Choose a template that suits your app's requirements, such as a "Blank Activity" or a "Basic Activity." Templates come with pre-configured files and code, saving you time and effort in setting up the initial structure of your app.
Step 3: Configuring Project Settings
In this step, you can configure additional settings for your project, such as the activity name, layout name, and the layout file name for your main activity. You can also choose to include Kotlin support if you prefer using Kotlin as your programming language.
Step 4: Project Structure
Once you've completed the project creation process, Android Studio will generate the initial project structure for you. You will see various directories and files, including the Java or Kotlin source code files, XML layout files, and resource files.
Navigating the Android Studio Interface
The Android Studio interface consists of several components that allow you to efficiently navigate, edit, and manage your Android projects. Familiarizing yourself with these components will enhance your productivity as an Android developer. Let's explore the key components of the Android Studio interface:
The Project Window
The Project window displays the file structure of your Android project. It provides an organized view of your project's directories, files, and resources. You can expand or collapse folders, search for specific files, and access various project-related actions from this window.
The Editor Window
The Editor window is where you write, edit, and view your code. Android Studio provides a powerful code editor with features like syntax highlighting, code completion, and code navigation. You can also split the editor window to view multiple files side by side, making it easier to work on different parts of your code simultaneously.
The Toolbar
The Toolbar contains various buttons and icons that allow you to perform common actions and tasks. It provides quick access to frequently used features, such as running your app on an emulator or a physical device, debugging your app, and accessing navigation menus.
The Design and Layout Editor
The Design and Layout Editor in Android Studio allows you to visually create and modify your app's user interface. You can drag and drop UI elements onto the design canvas, adjust their properties, and preview how your layout will look on different devices and screen sizes.
The Gradle Build System
Android Studio uses the Gradle build system to automate the build and packaging process of your Android apps. The Gradle scripts specify the dependencies, configurations, and build tasks for your project. Understanding how to work with Gradle is essential for managing your app's dependencies, generating signed APKs, and optimizing your app's performance.
Building User Interfaces with XML and Layout Editor
Creating visually appealing and user-friendly user interfaces is crucial for the success of any Android app. Android Studio provides two primary methods for designing user interfaces: XML layout files and the built-in Layout Editor. Let's explore these methods in detail:
XML Layout Files
In Android, user interfaces are defined using XML files that specify the layout and appearance of your app's screens. XML provides a hierarchical structure where you can define UI elements, their properties, and their relationships. Android Studio allows you to create and edit XML layout files using the code editor or the Design view, providing you with flexibility and control over your app's UI design.
The Layout Editor
The Layout Editor in Android Studio offers a visual approach to creating and modifying XML layouts. With the Layout Editor, you can drag and drop UI elements from the Palette onto the design canvas, adjust their properties, and arrange them to create your desired layout. The Layout Editor provides a real-time preview of how your layout will look on different devices and screen sizes, allowing you to design responsive and adaptable user interfaces.
Working with UI Components
Android Studio provides a wide range of UI components, also known as widgets, that you can use to build your app's user interface. These components include buttons, text fields, images, lists, and many more. Each component has its own set of properties and attributes that you can customize to achieve the desired look and functionality.
ConstraintLayout for Flexible UI Design
ConstraintLayout is a powerful layout manager provided by Android Studio. It allows you to create complex and flexible user interfaces by defining relationships between UI components. With ConstraintLayout, you can specify constraints that determine the position, size, and alignment of UI elements relative to each other or to the parent container. This enables you to create responsive and adaptive layouts that automatically adjust to different screen sizes and orientations.
Previewing Your Layout
Android Studio's Layout Editor provides a real-time preview of your layout, allowing you to see how it will look on different devices and screensizes. You can switch between different device configurations, such as screen size, orientation, and pixel density, to ensure that your layout adapts correctly to various devices. The preview feature helps you identify potential issues and make adjustments to your layout before running the app on an actual device or emulator.
Working with Data Binding
Data Binding is a powerful feature in Android Studio that allows you to bind UI components directly to data sources. It eliminates the need for manually updating UI elements when the underlying data changes. With data binding, you can write cleaner and more maintainable code by reducing the boilerplate code required for updating UI components.
Applying Themes and Styles
Android Studio provides a variety of pre-defined themes and styles that you can apply to your app's user interface. Themes define the overall look and feel of your app, including colors, fonts, and styles for UI components. Styles allow you to apply a consistent set of attributes to a group of UI elements, making it easier to manage and customize the appearance of your app.
Working with Java and Kotlin
Android app development primarily utilizes two programming languages: Java and Kotlin. Android Studio fully supports both languages, allowing you to choose the one that suits your preferences and requirements. Let's explore the basics of Java and Kotlin in the context of Android app development:
Java for Android Development
Java has been the traditional language for Android app development for many years. It is a widely-used, object-oriented programming language known for its simplicity and versatility. Java offers a rich set of libraries and frameworks that enable developers to build robust and scalable Android applications.
Kotlin for Android Development
Kotlin is a modern programming language that has gained popularity among Android developers in recent years. Developed by JetBrains, Kotlin is fully interoperable with Java, meaning you can seamlessly mix Kotlin and Java code in your Android projects. Kotlin offers concise syntax, null safety, and various other features that enhance productivity and code quality.
Setting Up Java and Kotlin in Android Studio
Android Studio comes pre-configured with support for both Java and Kotlin. When creating a new Android project, you can choose the programming language for your project. If you decide to use Kotlin, Android Studio will automatically configure the necessary dependencies and settings. If you prefer to use Java, you can start writing Java code right away without any additional setup.
Writing Code in Java and Kotlin
Both Java and Kotlin are used to write the logic and functionality of your Android app. Android Studio provides a powerful code editor with syntax highlighting, code completion, and other features to assist you in writing clean and efficient code. Whether you choose Java or Kotlin, you can leverage the vast Android SDK and libraries to access device functionalities and build engaging user experiences.
Integrating Java and Kotlin Code
Android Studio allows you to seamlessly integrate Java and Kotlin code within the same project. You can call Kotlin code from Java and vice versa, enabling a smooth transition between the two languages. This interoperability provides flexibility and allows you to leverage existing Java libraries while gradually migrating to Kotlin or vice versa.
Managing App Resources
App resources such as strings, images, colors, and layouts play a crucial role in creating a visually appealing and localized Android app. Android Studio provides a resource management system that allows you to organize and access app resources efficiently. Let's explore how to manage app resources effectively:
Resource Directory Structure
Android Studio follows a specific directory structure for organizing app resources. The "res" directory contains subdirectories for different types of resources, such as "drawable" for images, "layout" for XML layout files, "values" for strings and colors, and more. By organizing resources in a structured manner, you can easily locate and manage them.
Strings and Localization
String resources are used to store text that appears in your app's user interface. By storing strings in a separate resource file, you can easily manage and update them without modifying the code. Android Studio supports localization, allowing you to provide translations for different languages. You can define string resources for different languages, and Android will automatically load the appropriate strings based on the user's device settings.
Images and Drawables
Android Studio provides support for various image formats and allows you to include images in your app's resources. You can store images in the "drawable" directory and reference them in your XML layout files or Java/Kotlin code. Android Studio also supports different drawable types, such as vector drawables, which provide a scalable and resolution-independent way to display graphics.
Colors and Dimensions
Colors and dimensions play a significant role in defining the visual style of your app. Android Studio allows you to define colors and dimensions in separate resource files, making it easier to maintain a consistent color palette and size measurements throughout your app. You can reference these resources when defining UI elements, ensuring that your app's appearance remains consistent across different devices.
Accessing Resources Programmatically
In addition to referencing resources in XML layout files, you can also access them programmatically in your Java or Kotlin code. Android Studio provides convenient methods for retrieving resources, such as getString() for retrieving string resources, getColor() for retrieving color resources, and more. By accessing resources programmatically, you can dynamically update your app's UI based on user interactions or other runtime conditions.
Debugging and Testing Your App
Debugging and testing are critical aspects of Android app development. Android Studio provides a range of tools and features to help you identify and fix bugs, optimize performance, and ensure that your app functions as expected. Let's explore some of the essential debugging and testing features in Android Studio:
Logging and Logcat
Logging is a fundamental technique for debugging Android apps. Android Studio provides the Log class, which allows you to print log messages at different levels (such as VERBOSE, DEBUG, INFO, etc.) that can be captured in the Logcat window. Logcat is a powerful tool that displays system and application logs, allowing you to track the flow of your app, identify errors, and monitor variable values.
Breakpoints and Debugging
Android Studio's debugging capabilities allow you to set breakpoints in your code, suspend program execution at specific points, and inspect variables and objects in real-time. You can step through your code line by line, monitor variable values, and identify the root cause of issues. Android Studio provides an intuitive debugging interface, breakpoints management, and various debugging options to streamline the debugging process.
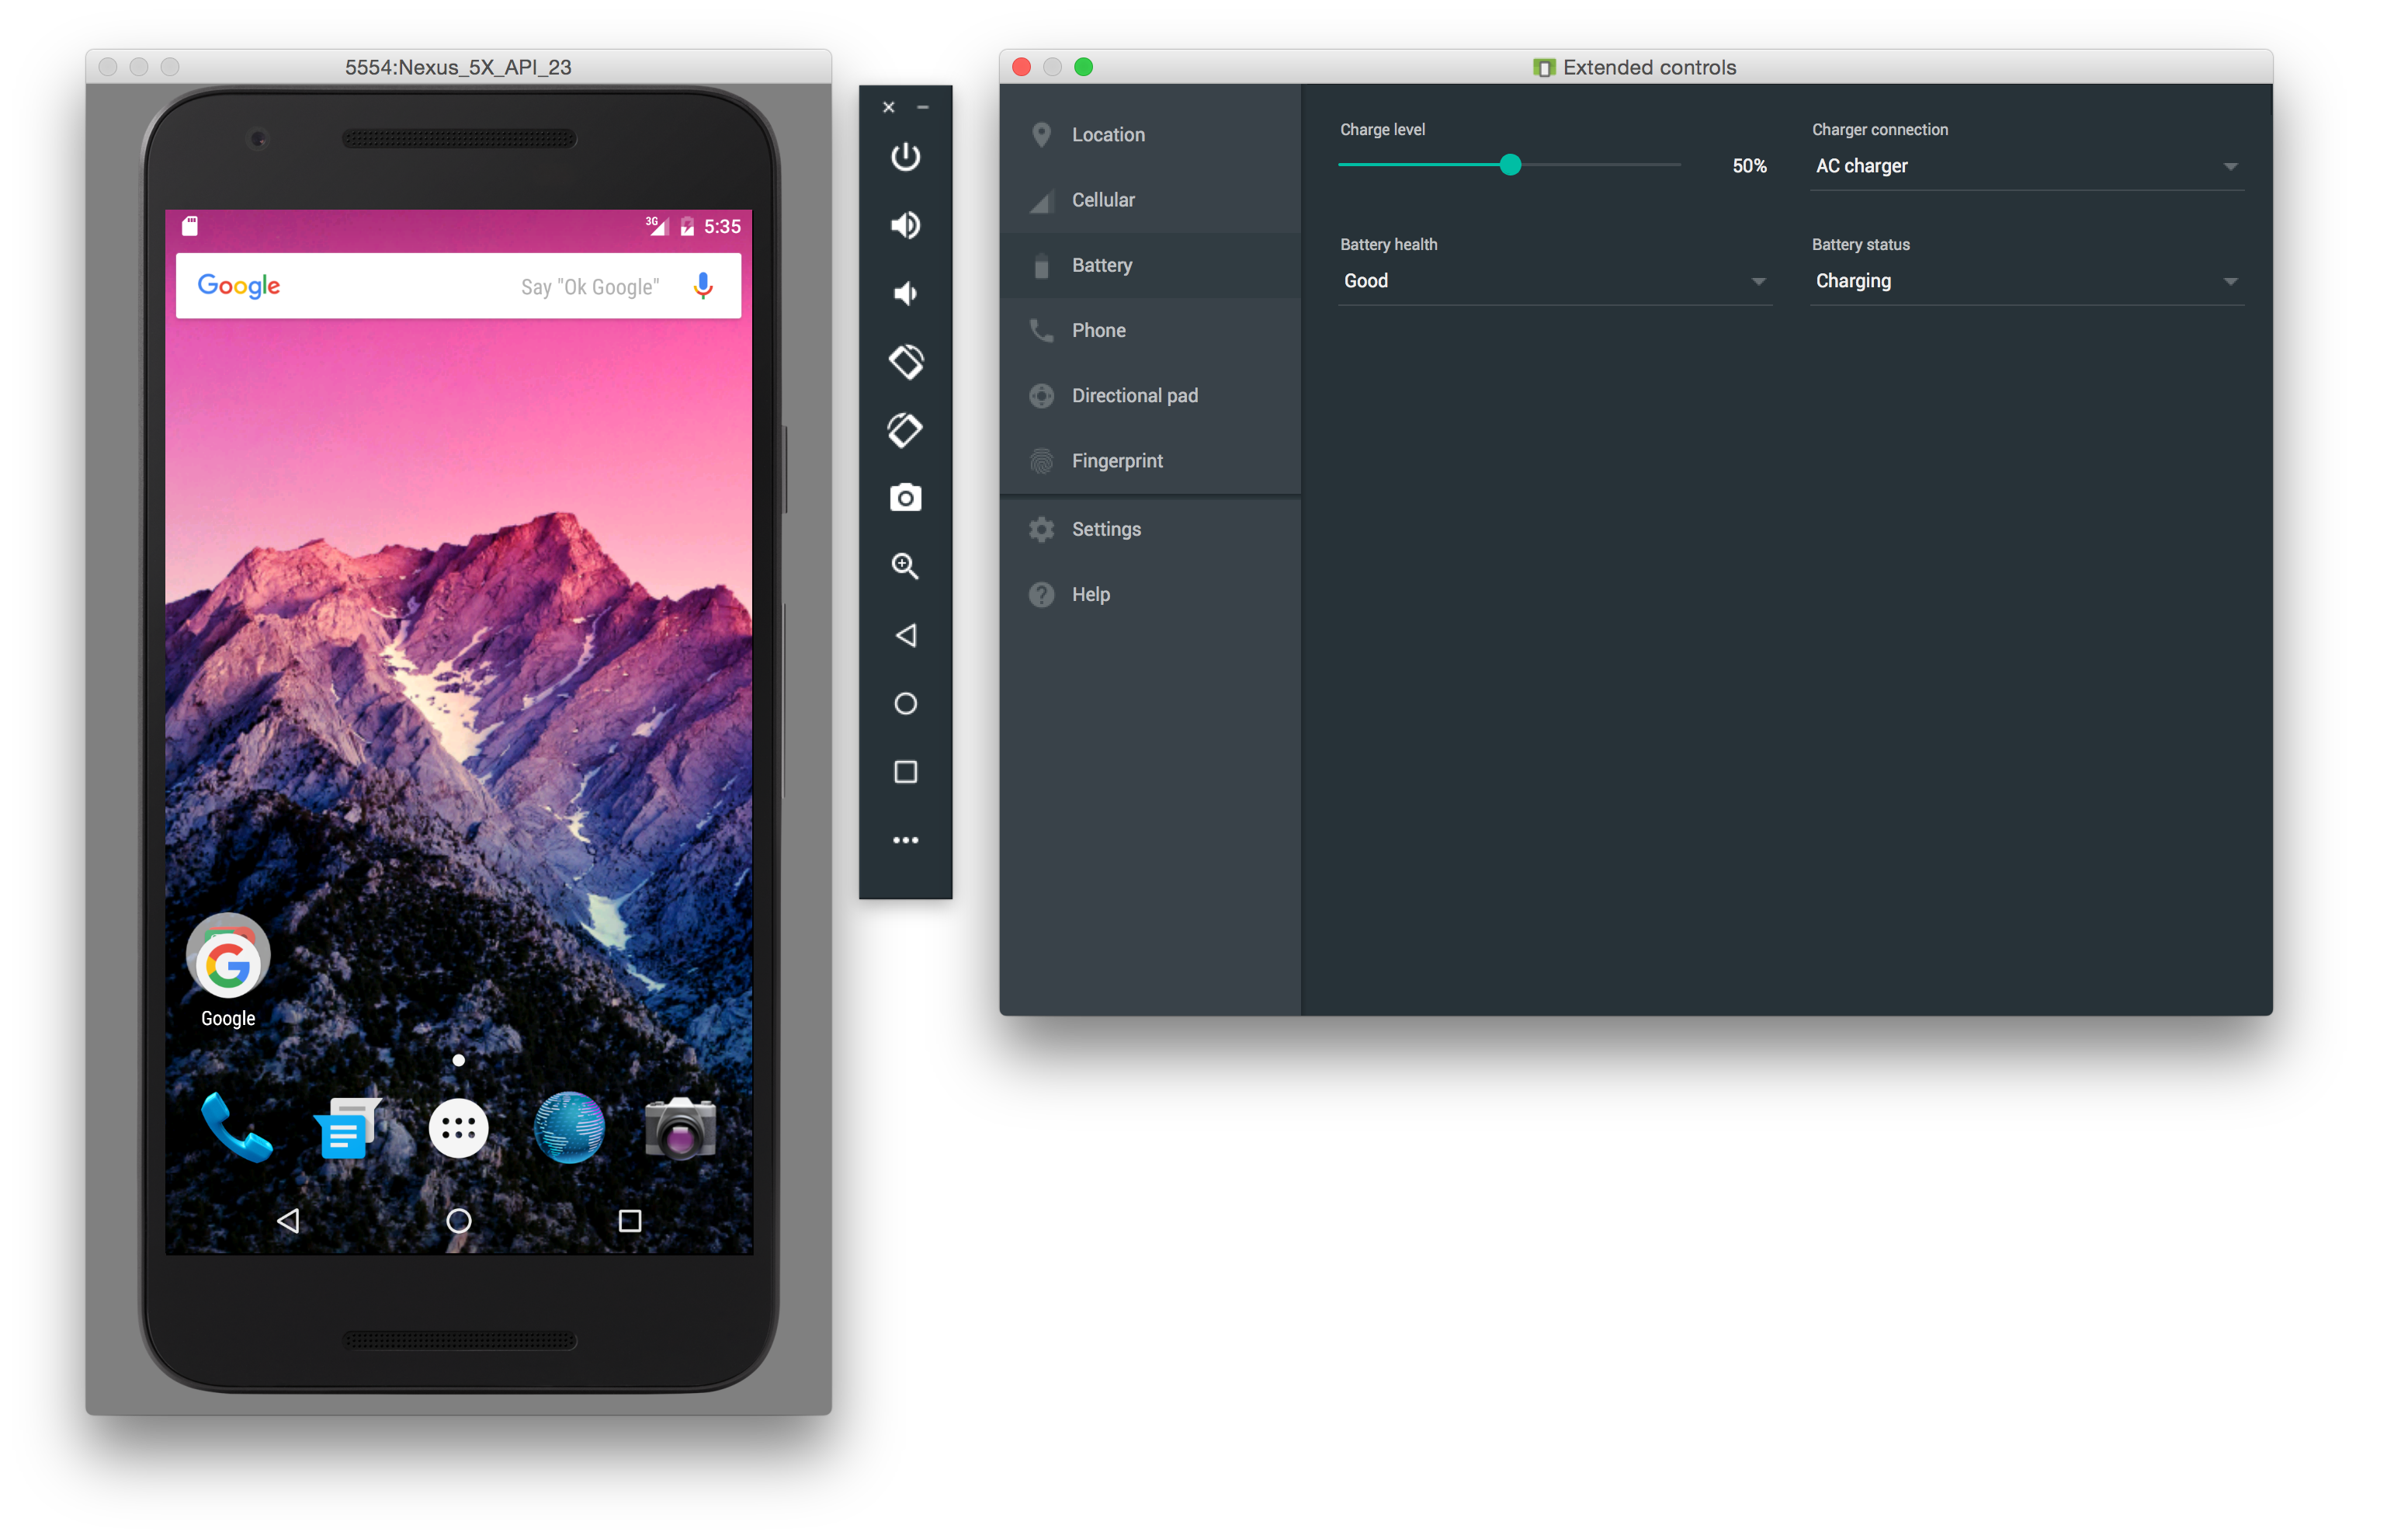
Emulator and Device Testing
Android Studio includes an emulator that allows you to test your app on different virtual devices with various screen sizes, resolutions, and Android versions. You can also connect physical devices to your development machine and test your app directly on them. Android Studio provides easy device management and supports advanced testing features like multi-touch input, sensor simulation, and network emulation.
Unit Testing and Instrumentation Testing
Android Studio supports both unit testing and instrumentation testing to validate the functionality and behavior of your app. With unit testing, you can write tests to verify individual components or modules in isolation. Instrumentation testing allows you to test the entire app, including user interface interactions, by running tests on actual devices or emulators. Android Studio provides a testing framework, testing tools, and integration with popular testing libraries to streamline the testing process.
Working with APIs and Libraries
Third-party APIs and libraries are instrumental in extending the functionality and capabilities of your Android apps. Android Studio offers seamless integration with external APIs and libraries, making it easy to incorporate additional features into your projects. Let's explore how to work with APIs and libraries in Android Studio:
Adding External Libraries
Android Studio allows you to add external libraries to your project by including their dependencies in your build.gradle file. The build.gradle file specifies the dependencies and configurations for your project, and you can easily search for libraries in the Maven Central Repository or other repositories. Android Studio automatically downloads and manages the required libraries, making it convenient to incorporate external code into your app.
Using APIs and SDKs
APIs (Application Programming Interfaces) and SDKs (Software Development Kits) provide pre-built functionality that you can integrate into your app. Android Studio makes it easy to work with APIs and SDKs by providing tools for importing, configuring, and using them in your projects. Whether you need to integrate a social media login, a payment gateway, or a mapping service, Android Studio simplifies the process of accessing and utilizing these external resources.
Managing Dependencies with Gradle
Gradle, the build system used by Android Studio, plays a crucial role in managing dependencies. With Gradle, you can declare dependencies on external libraries and specify their versions, ensuring that your app uses the correct versions and resolves any conflicts. Gradle also enables you to define custom build types, flavors, and product flavors, allowing you to build multiple variants of your app with different configurations or features.
API Documentation and Integration Guides
When working with APIs and libraries, it is essential to refer to their documentation and integration guides. Most APIs and libraries provide detailed documentation, including sample code, usage instructions, and best practices. Android Studio allows you to easily access and navigate documentation by providing quick access to external documentation from within theIDE. You can also use the code editor's auto-completion feature to explore available methods and classes from the API or library you are working with.
Publishing Your App to the Google Play Store
Once your app is ready for the world to see, it's time to publish it to the Google Play Store. Android Studio provides a streamlined process for preparing your app for release and guiding you through the publishing process. Let's explore the steps involved in publishing your app:
Generating Signed APKs
Before publishing your app, you need to generate a signed APK (Android Package) file. A signed APK is a release version of your app that is digitally signed with your private key, ensuring its authenticity and integrity. Android Studio provides a Generate Signed Bundle/APK wizard that guides you through the process of creating a signed APK file.
Optimizing App Performance
Prior to publishing your app, it is crucial to optimize its performance to ensure a smooth user experience. Android Studio's Profiler tool allows you to analyze your app's CPU usage, memory allocation, and network traffic. By identifying performance bottlenecks and optimizing your code, you can enhance your app's responsiveness and efficiency.
Preparing Store Listing and Assets
When publishing your app, you need to provide various assets and information for the Google Play Store listing. This includes an app title, description, screenshots, promotional graphics, and privacy policy. Android Studio allows you to manage and organize these assets, making it easy to update and customize them based on your app's requirements.
Testing on Internal and Alpha/Beta Channels
Before releasing your app to the general public, it is recommended to conduct thorough testing. Android Studio allows you to distribute your app to a limited audience using internal test tracks or alpha/beta channels in the Google Play Console. This enables you to gather feedback, identify any last-minute issues, and make necessary improvements before launching your app to a wider audience.
Releasing Your App
Once you are satisfied with your app's performance and have completed the necessary preparations, it's time to release your app to the Google Play Store. Android Studio provides a Publish App wizard that guides you through the final steps of uploading your app's APK, setting pricing and availability, and publishing it to the Google Play Store.
Staying Updated with Android Studio
Android app development is a rapidly evolving field, with new features, tools, and best practices constantly emerging. It is essential to stay updated with the latest advancements in Android Studio to leverage its full potential. Here are some strategies to keep yourself up-to-date:
Official Documentation and Release Notes
The official Android Studio documentation and release notes are valuable resources for staying informed about the latest features and changes. Google regularly updates the documentation to provide detailed information on new features, APIs, and tools. The release notes highlight the improvements and bug fixes introduced in each update, helping you understand the changes and how they may impact your development process.
Android Developer Website and Blog
The Android Developer website and blog are excellent sources of information for Android app developers. They provide tutorials, guides, and articles on a wide range of topics, including Android Studio, app development best practices, and platform updates. The blog often features insights and announcements from Google, giving you a glimpse into future developments and trends in the Android ecosystem.
Community Forums and Online Communities
Engaging with the Android developer community can be highly beneficial for staying updated and solving challenges. Online forums, such as Stack Overflow and the Android Developers Community, provide platforms for developers to ask questions, share knowledge, and seek assistance. Joining online communities and participating in discussions can help you learn from others' experiences, discover new techniques, and stay informed about the latest trends in Android app development.
Attending Developer Conferences and Events
Developer conferences and events, such as Google I/O and Droidcon, offer opportunities to learn directly from industry experts, network with fellow developers, and gain insights into the latest developments in Android app development. These events often include sessions and workshops focused on Android Studio and other relevant tools, providing valuable hands-on learning experiences and access to the latest industry trends.
Following Influential Developers and Blogs
Many influential developers and blogs specialize in Android app development and regularly share insights, tips, and updates. Following these developers and blogs on social media platforms or subscribing to their newsletters can provide a constant stream of valuable information. They often share tutorials, code samples, and real-world experiences that can enhance your understanding of Android Studio and help you stay at the forefront of Android app development.
In conclusion, Android Studio is an indispensable tool for Android app development. With its powerful features, seamless integration with Android SDKs, and extensive resources, Android Studio provides developers with the necessary tools to create innovative and high-quality Android applications. By following this comprehensive guide, you have gained a solid understanding of Android Studio's features, from project creation to debugging, testing, and publishing. Embrace Android Studio, explore its capabilities, and let your creativity and coding skills shine as you embark on your Android app development journey!